![mini epi | Breadin5 09]()
It wasn’t that long ago I spent a magic filled weekend with Todd and Diane (White on Rice Couple) in their California studio. It was one of those experiences I will never forget. Not only is their sun soaked space a dream come true for anyone with a camera, but they have a prop room the size of most homes. They invited a group of food bloggers to play in their kitchen and challenged all of us to push our photography in new directions. The talent of the group was mind bending, but it was really the generosity of the group, who freely shared their wisdom, that was so inspiring.
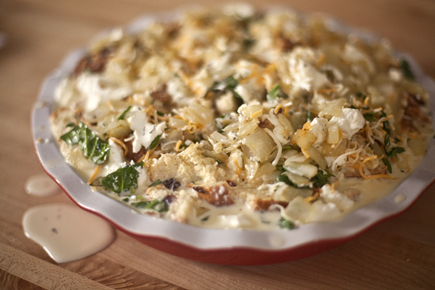
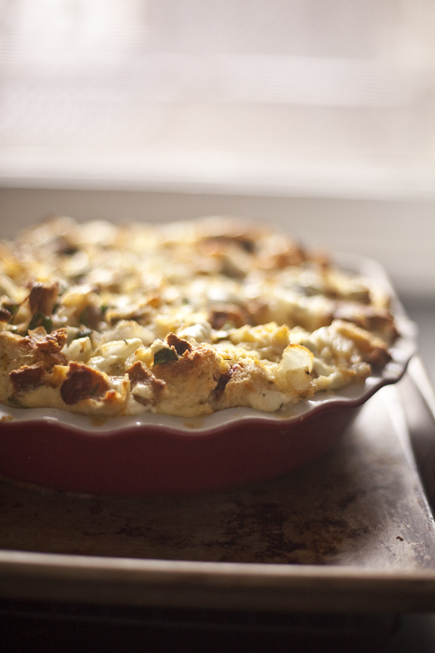
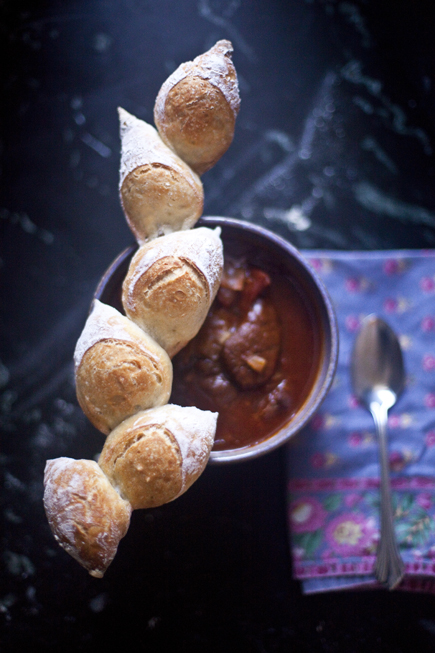
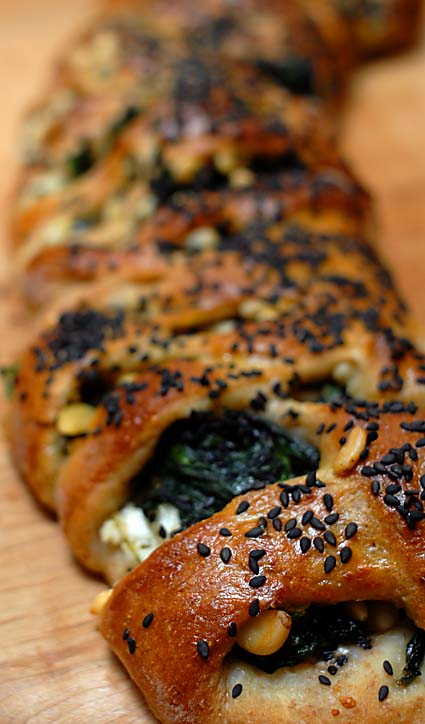
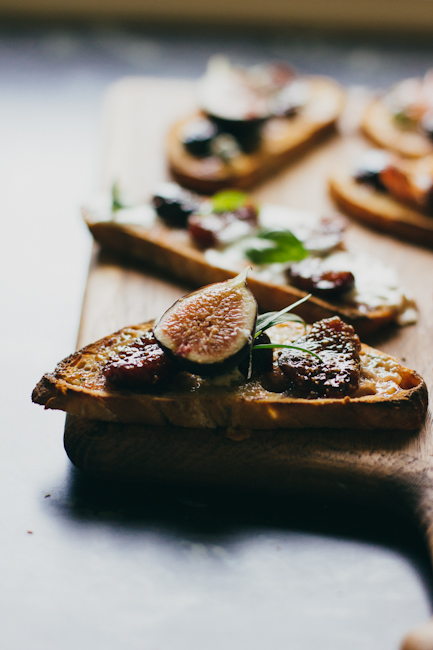
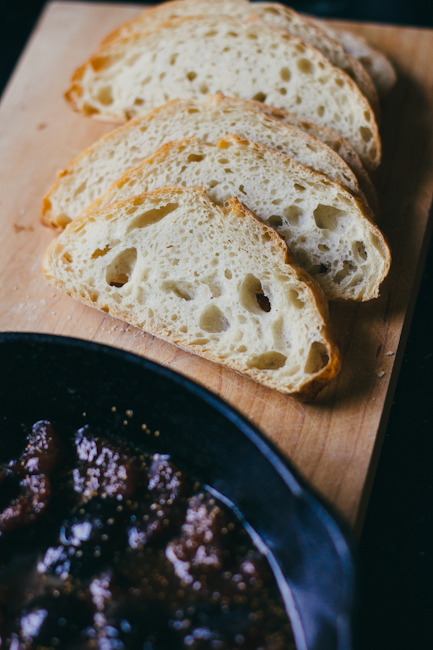
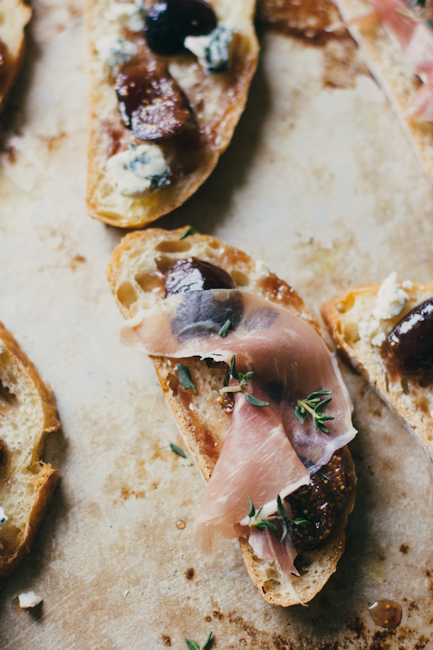
One of the lovely people I met that weekend was Gina Homolka from SkinnyTaste. Her blog and her book are both beautiful and a pure reflection of the woman behind them. She served a salad at the studio party that was simply incredible, so I bought her book. Now that I am home in the polar vortex that is Minnesota, and pretty much snowed in until March, I am all about hot soups. I wanted something that felt hearty enough to conquer the cold, but didn’t make me feel like I needed to nap after. I flipped through Gina’s book and found “Un”stuffed Cabbage Soup. I love stuffed cabbage. It reminds me of my grandmother’s kitchen, but I’ve never had the patience to make them. This soup has all of those wonderful flavors, but none of the work. Perfect for a cold night with a loaf of fresh bread. I went with an ultra crusty Epi, but to keep it skinny, I made mini ones.
Cabbage Soup inspired by Gina Homolka’s “Un”Stuffed Cabbage Soup from SkinnyTaste
Serves 8
1 pound lean ground beef – I had beef that was cut in cubes for stew, so I used that instead and it was awesome.
1 teaspoon salt
1 large white onion, finely chopped
3 garlic cloves, finely minced
1 1/2 teaspoons sweet paprika
1/2 teaspoon dried thyme
2 (14.5 ounce) cans of petite diced tomatoes
1 (8-ounce) can tomatoe sauce
5 cups unsalted beef stock
2 tablespoons honey – my grandmother’s sauce was a touch sweet, so I added this, but try it without, as Gina wrote it, first.
4 cups chopped green cabbage
Freshly ground black pepper
1 cup cooked brown rice
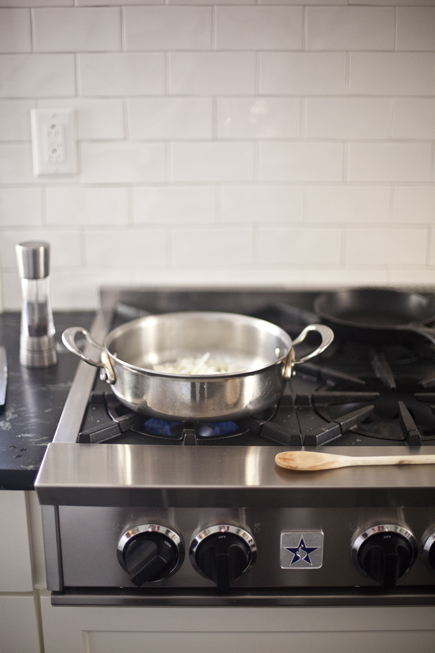
Brown the meat over high heat in a large Dutch Oven. If you are using the cubed meat, then you’ll want to brown in some oil. Add the salt as you are browning. Once the meat is browned, turn down the heat to medium, toss in the onions, garlic, paprika, and thyme. Toss to coat the meat and cook for about 5 minutes to toast soften the onions. Add the tomatoes, tomato sauce, and beef stock*. Add the honey, if using. If you are using the cubed beef, cook for about an hour, or until the beef is tender. Once the beef is tender, add the cabbage and cook until it is soft, about 35 minutes. Add the brown rice and serve.
*(If you are using the ground beef you can add the cabbage with the beef stock and cook until soft, about 35 minutes.)
To make the mini Epi:
![dough | Breadin5 01]()
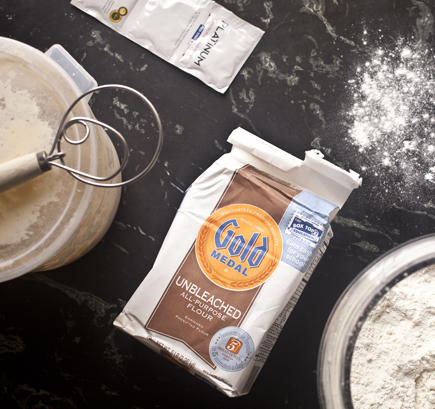
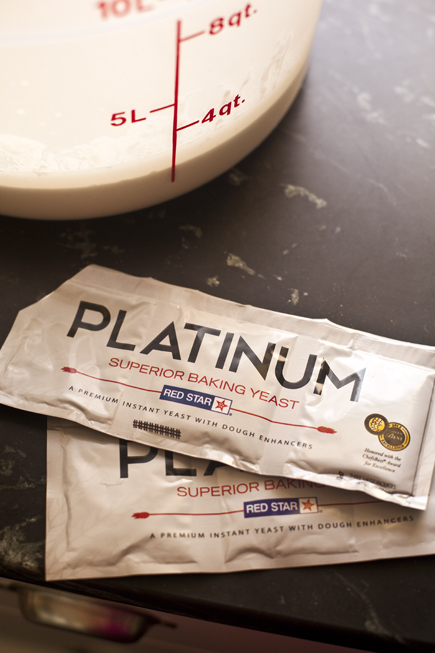
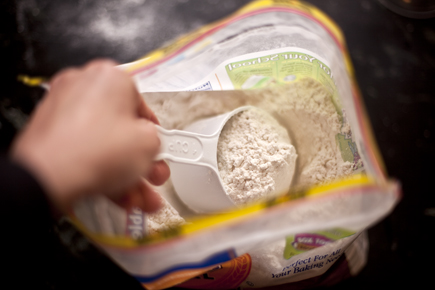
I used the Master recipe from The NewABin5 with Red Star Platinum Yeast, but you can use any lean dough from our books. (A lean dough is one that has little or no fats, eggs, sweeteners, which means it can be baked at a higher temperature. If you use one that is enriched with the ingredients I mentioned, then follow the baking temperatures for those doughs or they may burn.) You can also use the Master Recipe from our new Gluten-Free Book.
![dough | Breadin5 02]()
In our books we say to use an 8-ounce piece of dough for an Epi, but I wanted these to be smaller, so I used 4-ounce pieces.
Preheat oven with a baking stone or steel to 475°F.
![mini epi | Breadin5 01]()
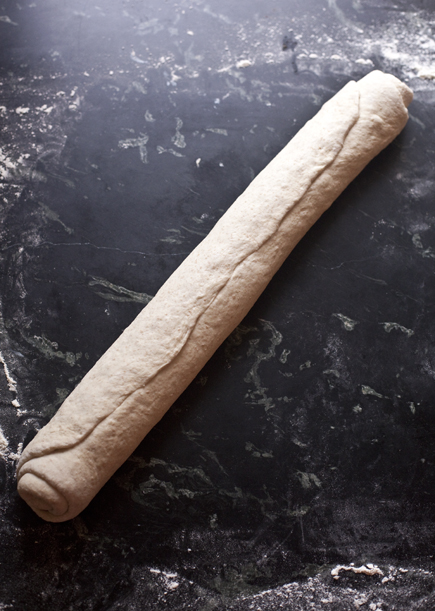
Elongate the balls using the letter-fold technique found in The NewABin5 or you can find it in this post. Allow the dough to rise for about 20 to 40 minutes, depending on the type of dough you are using or the temperature of your kitchen. (whole grain doughs will take longer than white dough)
![mini epi | Breadin5 02]()
Sprinkle with flour.
![mini epi | Breadin5 03]()
Gently smooth the flour over the surface of the dough.
![mini epi | Breadin5 04]()
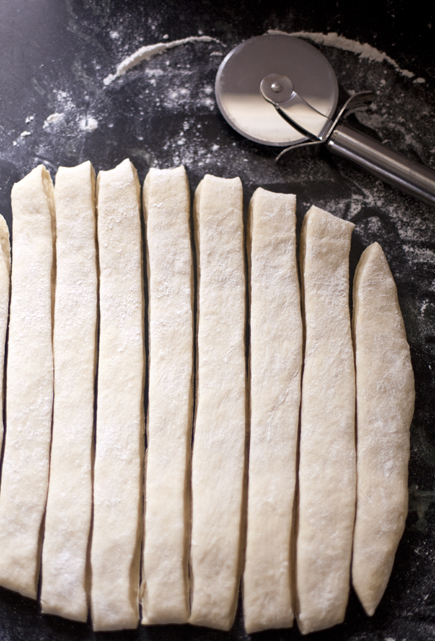
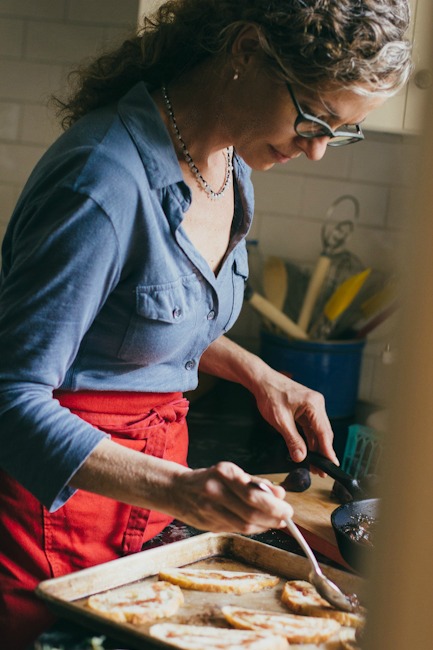
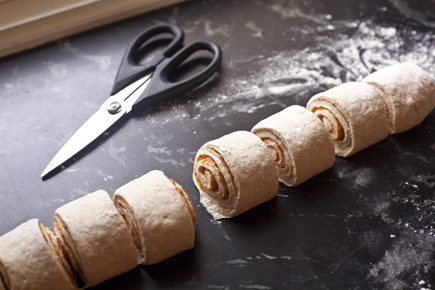
Cut the points on the Epi with a pair of Kitchen Shears that have a long blade, you can find directions in the book or in this post.
Slide the bread onto a preheated baking stone and add steam to the oven to create a nice crust.
![mini epi | Breadin5 05]()
Bake for about 20 minutes or until gloden brown.
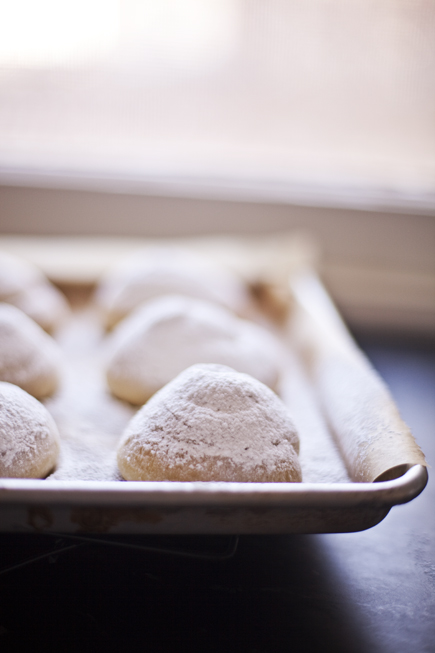
![mini epi | Breadin5 06]()
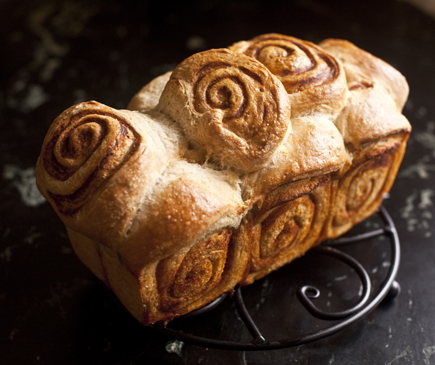
Allow to cool slightly before eating. Because of their small size, these can be eaten warm.
![mini epi | Breadin5 07]()
Enjoy your soup and stay warm!
![Epi and SkinnyTaste | Breadin5]()
*Enter to win a copy of SkinnyTaste by leaving a note in the comments. All normal rules apply. This contest is finished and the lucky winner of SkinnyTaste was Keith! Enjoy the book in good health!
![mini epi | Breadin5 08]()


 or
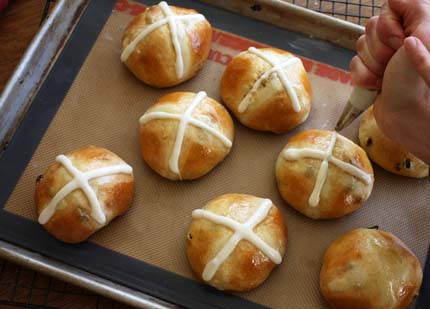
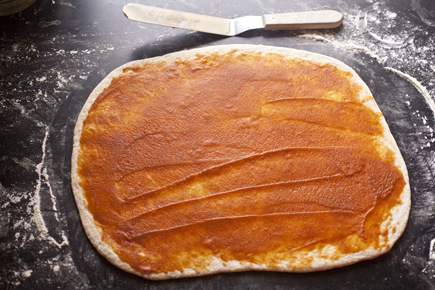
or  and round tip. You can eliminate the paste and slash the dough in a cross pattern instead. I just wanted to try this traditional method, but it does require an extra step.


")
")
")
")


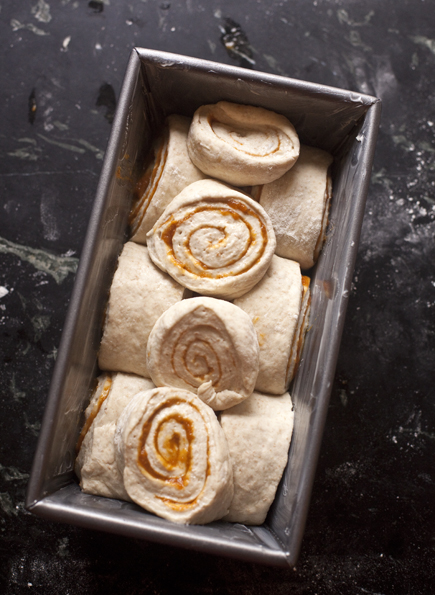
 Some people shy away from yeast breads and rolls at busy holidays because they think the proofing step (the rest after the loaves or rolls are shaped) is too time-consuming, even with our stored dough. Here’s a great way to get around that–form rolls or loaves the night before, refrigerate overnight and they’re ready for the oven in the morning.
 The town is famous for its Alpine valley location, its beautiful painted building facades…
  …its magnificent baroque church…
  … and its chantarelle mushrooms (in German, pfifferlinge—pronounced p’fiffer-ling-eh). If you get there in-season (we did), they’re fantastic cooked with anything…
  … and I’m certain they will work in our
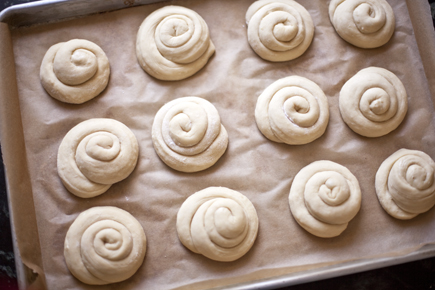
  Form a ball from each piece of dough as we demonstrated on
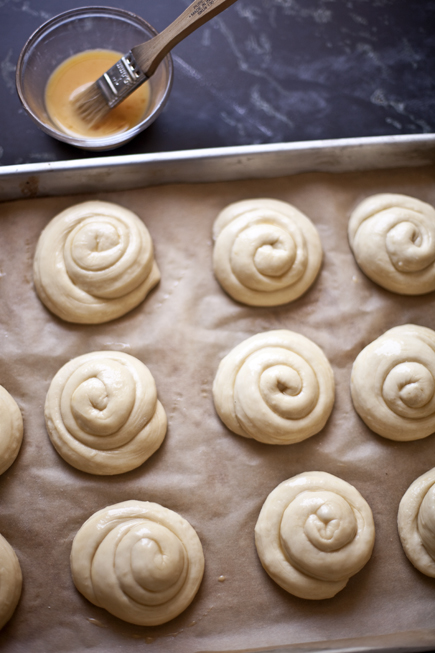
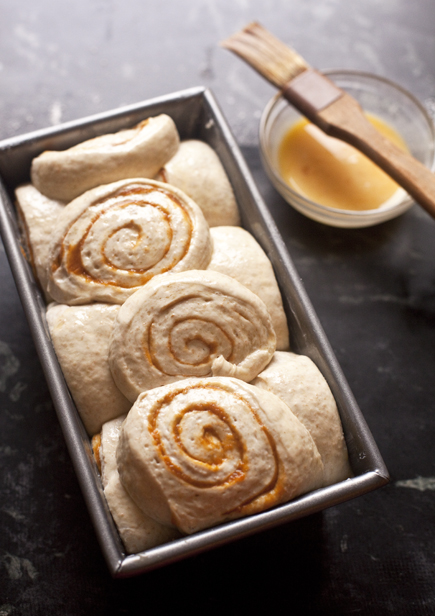
 In the morning, preheat the oven to 400F, with an empty broiler tray on any other shelf that won’t interfere with rising rolls (use 350F if you’re using egg-enriched or sweetened dough). There’s no need for a baking stone if you used the heavy-duty aluminum baking sheet, and if you skip it the preheat can be shorter. Take the baking sheet out of the fridge, where the rolls will have expanded but probably not noticeably risen. Discard the plastic wrap, and brush with water using a


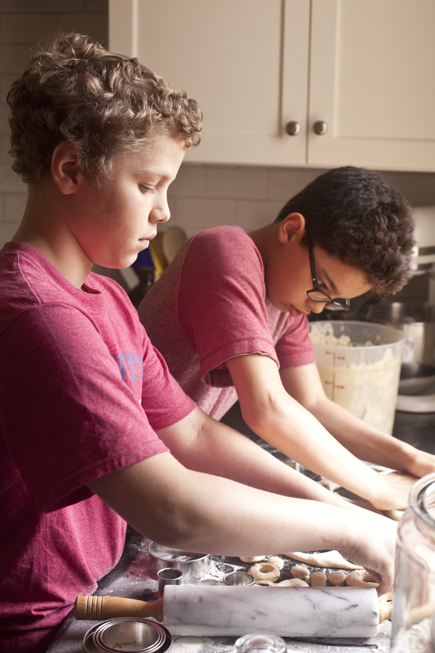
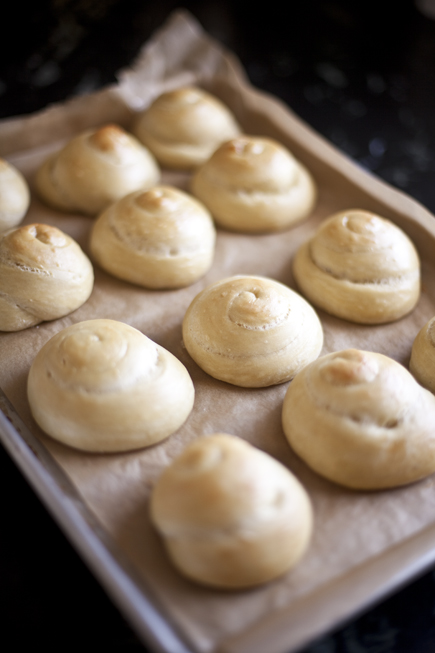
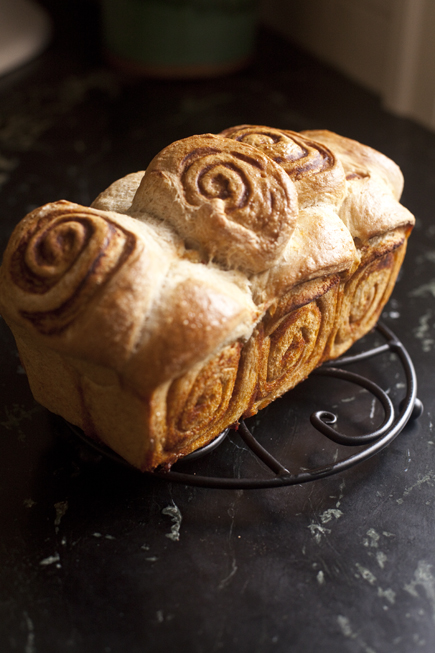
 These guys probably weren’t thinking of it, but Happy Thanksgiving! Be sure to check out


 with parchment or a

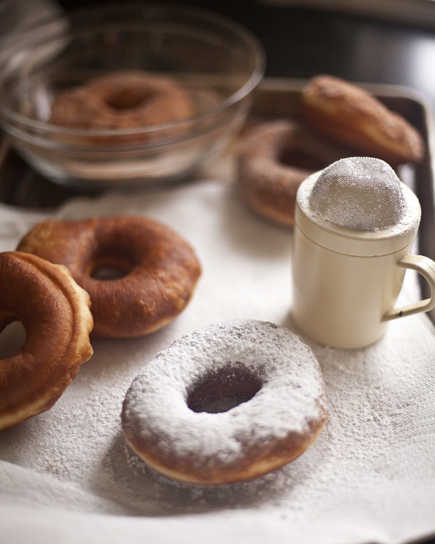
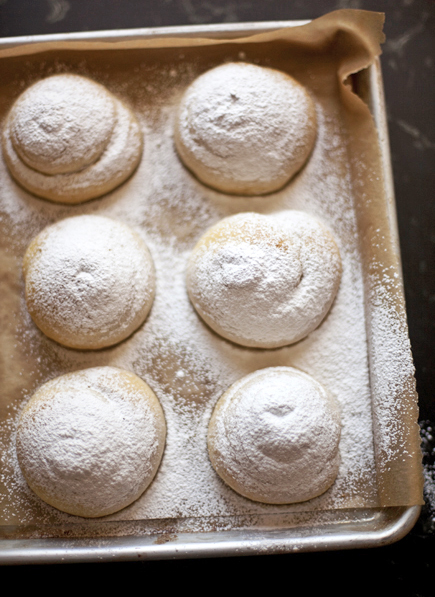
 it with confections’ sugar…