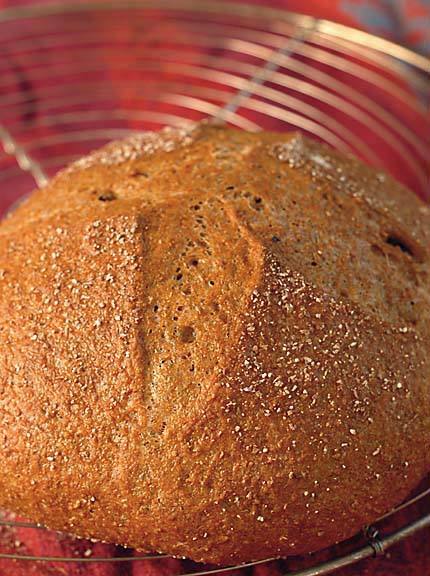
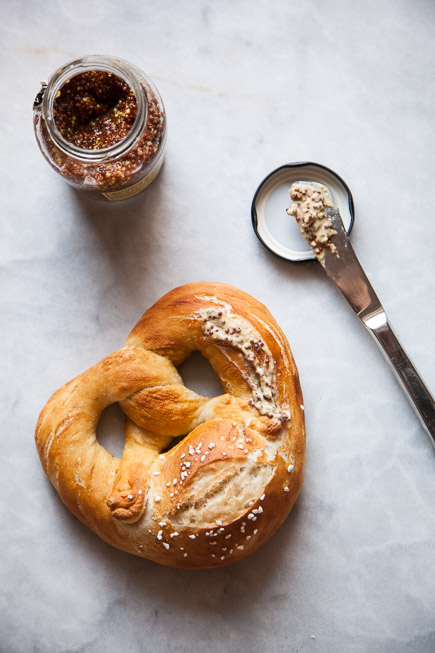
![master-dough-baked-new-hbin5-7-of-7]()
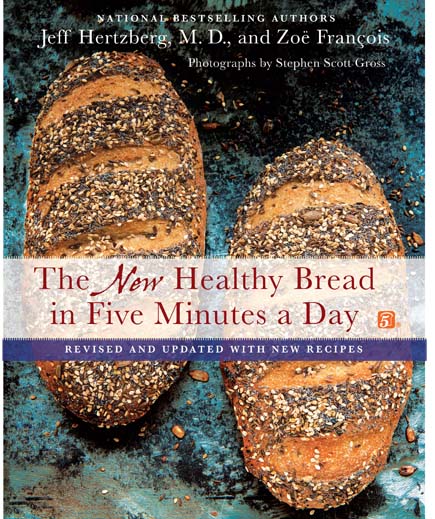
When we first wrote Artisan Bread in Five Minutes a Day in 2007 we were immediately asked how to convert the recipes to whole grains. We knew then that we’d be writing another book to satisfy the appetite for healthier breads. We also discovered gluten-free flours and developed our first breads made with them. The book answered a lot of questions and concerns about eating whole grains, but since 2009, when it first came out, we’ve learned even more. Our readers have become curious about ancient grains, baking with sourdough starter and they wanted even more 100% whole wheat. Well, we got the opportunity to create a new edition of the book and we’re thrilled to introduce you to the The New Healthy Bread in Five Minutes a Day: Revised and Updated with New Recipes.
![The New Healthy Bread in Five Minutes a Day]()
We’ve added more photos to inspire you and make baking easier, all the recipes are in cup measures and weights, since we love baking with a scale and we’ve added charts for different kinds of flour, since there are so many on the market to choose from. There is a vast chapter of tips and techniques, but we are always available here on the website for your questions.
Now let’s dive into our Master Recipe, which didn’t change much, because it works so well and it is a great place to start for people who aren’t used to baking with whole grains. With whole grain baking you need more water, and one extra ingredient called Vital Wheat Gluten (sometimes labeled “vital wheat gluten flour”), which is available in most supermarkets, or mail-order/on-line from anywhere…
Whole grains can make for a drier results; all that bran soaks up water. So we increased the water for all the new recipes. But that was only part of it. We found that boosting the gluten content with vital wheat gluten increased the amount of time we can store the dough. Storing the dough is why our recipes are different from all others and makes baking so fast. Vital wheat gluten makes whole grain dough springy enough to be stored in the refrigerator as a large batch. We also offer a version without vital wheat gluten in the book for those who prefer not to use it or can’t find it.
What is vital wheat gluten? It’s the protein-rich part of wheat that creates the strands that trap gas bubbles and allow yeasted bread to rise (and stay risen). It doesn’t take much vital wheat gluten to make a difference in a 4 to 5 pound batch of whole grain dough. Just 2 to 4 tablespoons are all you need, so while the whole bag or box may seem expensive, it doesn’t add much to the cost of baking.
So where do you get vital wheat gluten? Most supermarkets in larger towns and cities carry it. The two brands in U.S. supermarkets are Bob’s Red Mill and Hodgson Mill, and we tested those extensively. If your local store doesn’t carry vital wheat gluten, you can mail-order it from Amazon; click for either the Bob’s Red Mill product, or the Hodgson Mill product (you can also order directly from those companys’ websites). Amazon carries other vital wheat gluten brands but we’ve never tried them.
![new-hbin5-2016-1-of-7]()
Master recipe from The New Healthy Bread in Five Minutes a Day:
There are many, many more details are in the book, along with plenty of recipes that are 100% whole grain; this recipe is about 73% whole grain:
Ingredients:
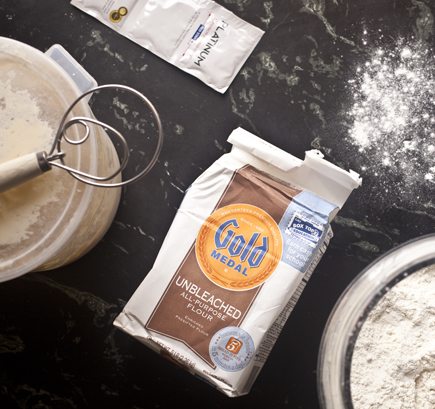
5 1/2 cups (750g) whole wheat flour – This is based on Gold Medal Flour, but we have a chart in the book so you can easily bake with King Arthur, Bob’s Red Mill, Sprouted Wheat, Kamut, Einkorn, Spelt or Hodgson Mill.
2 cups (300g) unbleached all-purpose flour
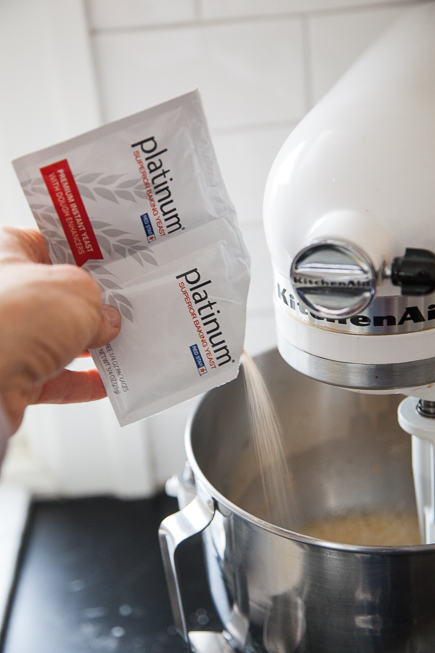
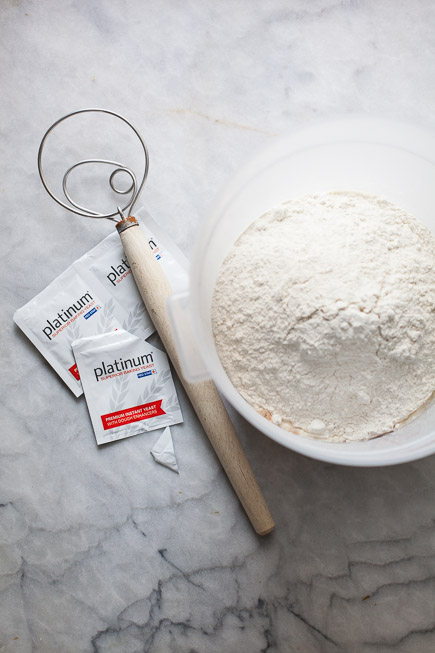
1 tablespoon (10g) granulated yeast – can decrease. You can use any kind of yeast including: instant, “quick,” rapid rise, bread machine, or a ctive dry. We’ve always tested with Red Star Yeast and they have a new premium product called PLATINUM, which has worked beautifully in our recipes. You can also decrease the amount of yeast in the recipe by following the directions here. Or you can bake with a sour dough starter, see instructions here.)
1 tablespoon (15g) Kosher salt – can adjust to taste or health concerns
1/4 cup (40g) vital wheat gluten (or vital wheat gluten flour) – Here is a version without vital wheat gluten
4 cups (910g) lukewarm water (about 100°F)
1 to 2 tablespoons of whole seed mixture for sprinkling on top crust: sesame, flaxseed, caraway, raw sunflower, poppy, and or anise
To make the dough:
![new-healthy-bread-in-five-minutes-a-day-3-of-19-2]()
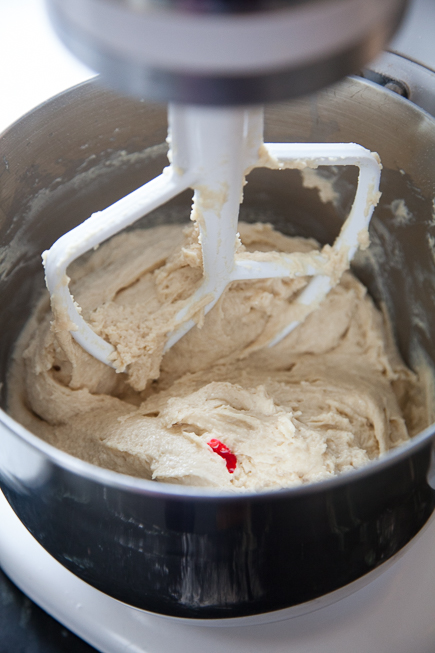
First, measure the dry ingredients into a 6-Quart Round Container or bowl, and whisk them together (you can also use a fork, or if it’s lidded, just shake them well). Mixing the dry ingredients first prevents the vital wheat gluten from forming clumps once liquids are added.
![new-healthy-bread-in-five-minutes-a-day-4-of-19-2]()
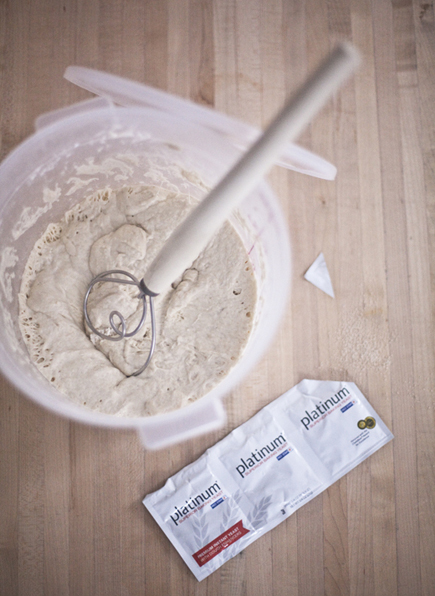
Add the water to form a wet dough and mix with a Danish Dough Whisk or wooden spoon.
![new-healthy-bread-in-five-minutes-a-day-5-of-19-2]()
Don’t add additional flour to dry this out. It should be wet and shaggy.
![new-healthy-bread-in-five-minutes-a-day-6-of-19-2]()
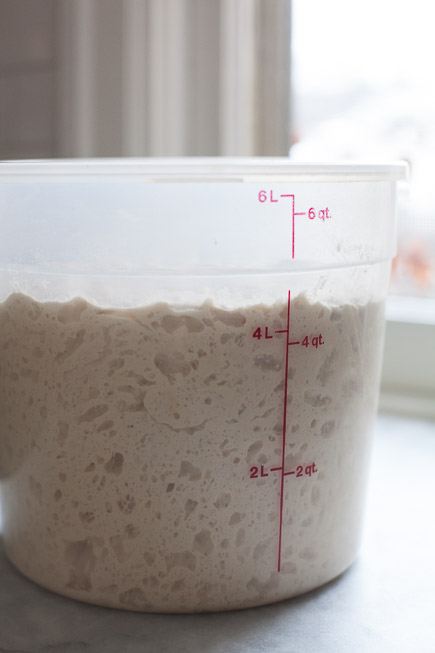
Cover loosely (leave lid open a crack) or you can piece a small hole in the lid, as you see above. Allow to rise for two hours at room temperature (if you decreased the yeast, you’ll need more time). NEVER PUNCH DOWN. The dough will rise and then begin to collapse. Refrigerate and use over the next 14 days, tearing off one-pound loaves as you need them.
![new-healthy-bread-in-five-minutes-a-day-7-of-19-2]()
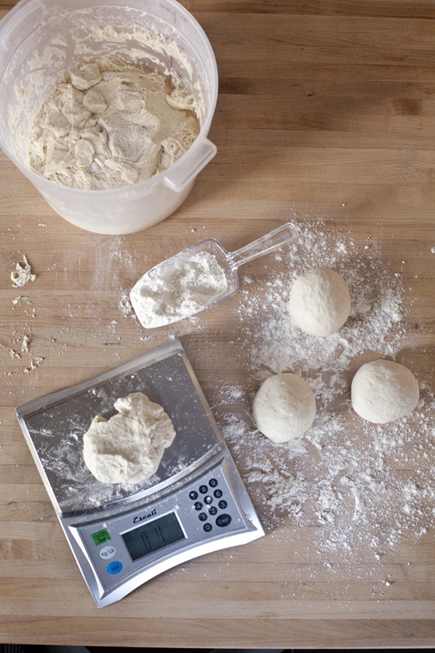
On baking day, cut off a grapefruit-sized piece of dough (about a pound), using a serrated knife or a Kitchen Shears.
![new-healthy-bread-in-five-minutes-a-day-8-of-19-2]()
![new-healthy-bread-in-five-minutes-a-day-9-of-19-2]()
Quickly shape a loaf as you’ve seen in our videos on this website.
![new-healthy-bread-in-five-minutes-a-day-10-of-19-2]()
It should take less than a minute— you pull the top around to the bottom, rotating quarter-turns as you go. DON’T KNEAD or otherwise knock all the gas out of the loaf.
![new-healthy-bread-in-five-minutes-a-day-11-of-19-2]()
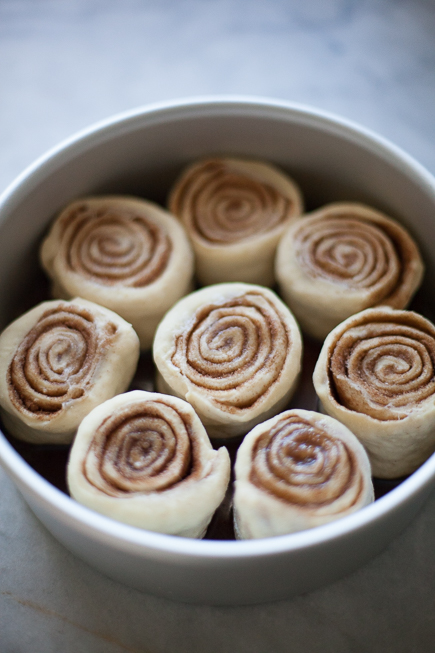
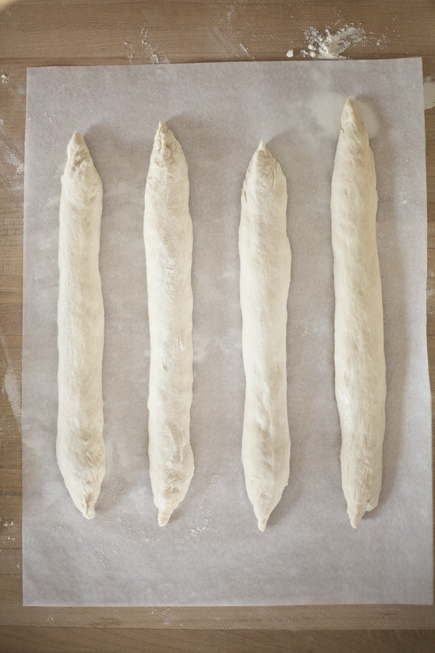
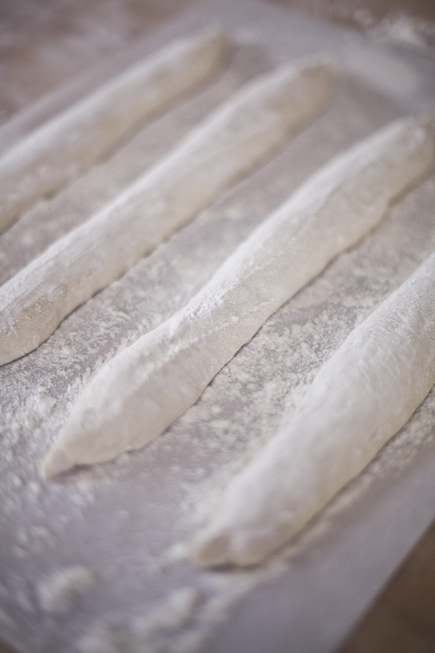
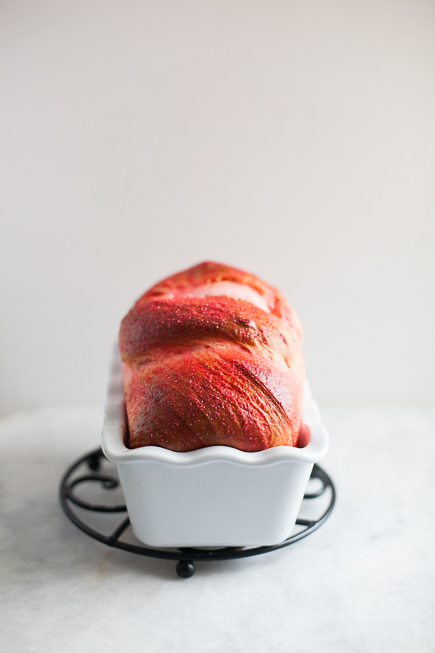
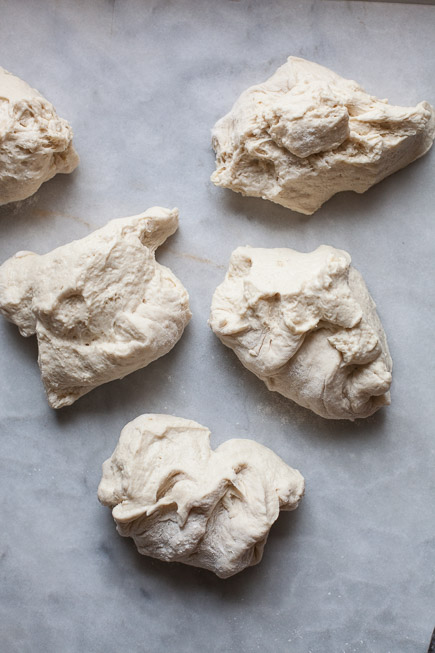
Cover the loaf loosely with plastic wrap and let it rest on a pizza peel covered with cornmeal or parchment for 90 minutes (40 minutes if you’re using fresh, unrefrigerated dough.) Depending on the age of the dough, you may not see much rise and it may spread out. The bottom loaf in the photo is just after shaping and then the one above it has rested and is ready for baking. Our loaves depend more on “oven spring” for rising.
Preheat the oven to 450°F (230 degrees C), with a baking stone placed on a middle rack. Place an empty broiler tray for holding water on any other rack that won’t interfere with rising bread.
![master-dough-baked-new-hbin5-1-of-7]()
Just before baking, use a pastry brush to paint the top with water (we’ve dropped the cornstarch wash) and sprinkle with seed mixture.
![master-dough-baked-new-hbin5-2-of-7]()
Slash the loaf with 1/2-inch deep parallel cuts across the top (or a singe lengthwise cut as in the first picture). Use a serrated bread knife held perpendicularly to the loaf:
Slide onto the hot stone…
![new-healthy-bread-in-five-minutes-a-day-14-of-19-2]()
…and carefully pour 1 cup of hot tap water into the broiler tray (in the book, we give alternatives for creating that steam environment, which is essential for creating a great crust):
![master-dough-baked-new-hbin5-3-of-7]()
![new-healthy-bread-in-five-minutes-a-day-17-of-19]()
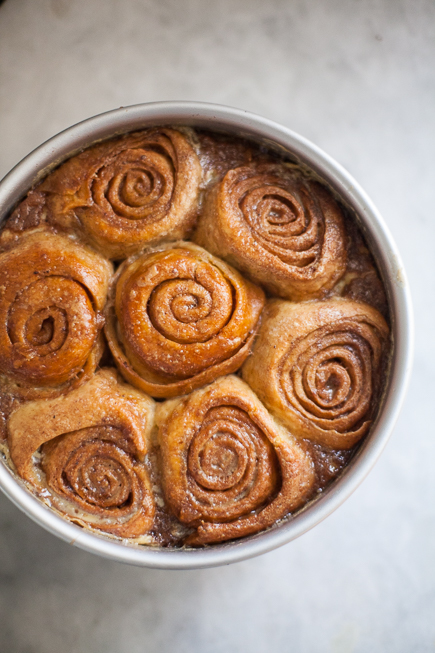
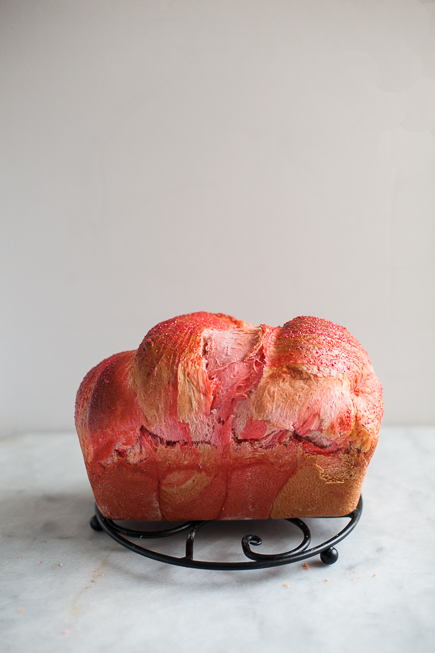
After a 30-minute bake, remove from oven and take the bread off the parchment.
![master-dough-baked-new-hbin5-4-of-7]()
cool on a cooling rack.
![master-dough-baked-new-hbin5-5-of-7]()
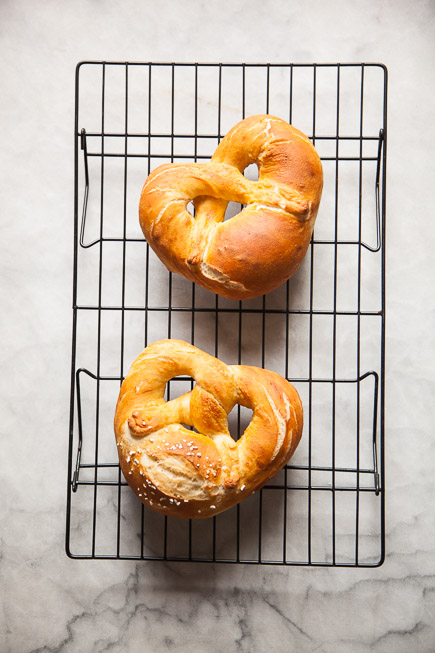
Below are more shapes and ways to bake our Master recipe. All of these techniques are featured in the book:
![master-dough-new-hbin5-4-of-12]()
Baking in a Dutch Oven is a great way to get a perfect crust without adding steam to the oven.
![master-dough-new-hbin5-5-of-12]()
Slow Cooker bread from our Master recipe
![master-dough-new-hbin5-7-of-12]()
Master recipe baked in a Cloche
![master-dough-new-hbin5-9-of-12]()
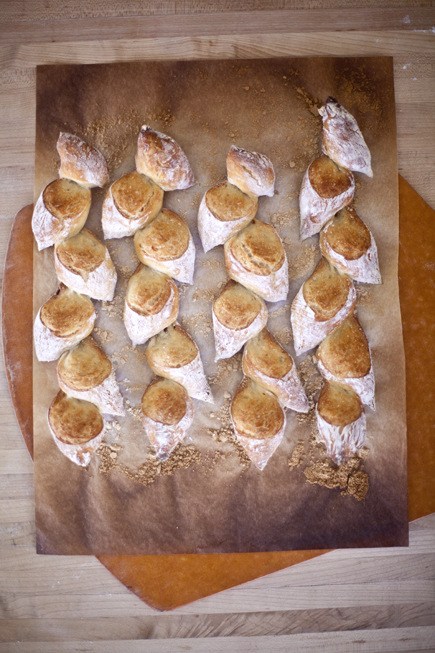
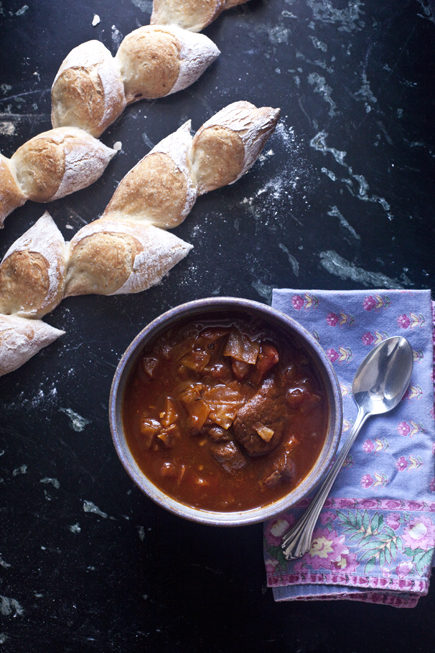
Epi and wreath from Master recipe
![master-dough-new-hbin5-10-of-12]()
Moon and stars made from Master recipe. And there are many more in the book, plus 100 other recipes. This may be our biggest book yet!
Studio silliness from our photo shoot with Sarah Kieffer and Stephen Scott Gross, who we credit for helping us make this book a real beauty. Thank you both!
![studio-silliness-new-hbin5-1-of-6]()
![studio-silliness-new-hbin5-2-of-6]()
![studio-silliness-new-hbin5-3-of-6]()
![studio-silliness-new-hbin5-4-of-6]()
![studio-silliness-new-hbin5-5-of-6]()
![studio-silliness-new-hbin5-6-of-6]()
![new-healthy-bread-in-five-minutes-a-day-19-of-19]()
(Many of the pictures in this post are by Stephen Scott Gross, who did the photography For New Healthy Bread in Five). The rest are by Zoe.


 with parchment or a
  and loosely cover with plastic and let it rest for 90 minutes.


 . You all know Sarah’s gorgeous work here on Breadin5, but you may not be as familiar with her
 with aluminum foil, dull side up. This helps create the crinkles in the cookies.
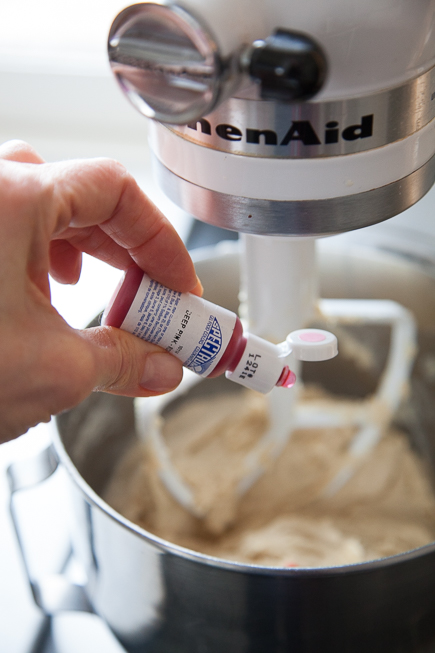
 , beat the butter on medium until creamy. Add the granulated and brown sugars and beat on medium until light and fluffy, 2 to 3 minutes. Add the egg, vanilla, and water and mix on low to combine. Add the flour mixture and mix on low until combined. Add the chocolate and mix on low into the batter.
 the dough into 3½-ounce (100g) balls (a heaping ⅓ cup each). Place 4 balls an equal distance apart on a prepared pan and transfer to the freezer for 15 minutes before baking. After you put the first baking sheet in the oven, put the second one in the freezer.


 with Jeff in 2005 was one such moment. Recently, I gave my dad a gift that falls into the same category. He has been going into the BWCA (Boundary Waters Canoe Area) on the Minnesota/Canada border for decades. He’s gone alone, he’s taken my brothers, he’s taken my sons, but I have never gone. To say I am not a camper is an understatement. I like memory foam and a thread count on my sheets that you can’t buy at REI. So, when I asked him to take me camping in the BWCA, he was thrilled and booked the date before I could change my mind, which I have considered many times. I am so excited, slightly terrified and I’ve heard many people say this is a trip of a lifetime. I have no doubt I will come back a changed woman.
 book, made with our whole wheat master recipe. Today I made it with brioche dough and it was fantastic. It’s a really fun flatbread, that is easier than you think to make and will jazz up a breakfast, lunch or brunch. It may or may not change your life, but it will add joy!


 , instead of the American version. People often ask if one is better than the other. It’s just a matter of taste and comfort. If you are used to an
  , it works just as well.)
 lined with
  .
.
 the edges lightly with egg wash (1 egg with 1 teaspoon water).


 to taste!


 )
)


 is the easiest way, but if you don’t have one, a grapefruit-sized piece will do.


 . Try to get an even amount on both sides, but it’s okay if it doesn’t happen.


